Most home theatre problems we are called to are not equipment problems. They are ordering problems. Somebody bought the television first, or hung the bracket before deciding where the couch would go, or closed the wall before anyone worked out how many cables had to pass through it.
So this is a checklist, but the order is the useful part. Each decision below quietly settles the ones after it, and getting them in sequence costs nothing while getting them out of sequence costs plaster, cable and a weekend.
The short answer
- Start from the seating position. Everything else is measured from there.
- Decide the speaker layout before the receiver, because the layout sets the channel count.
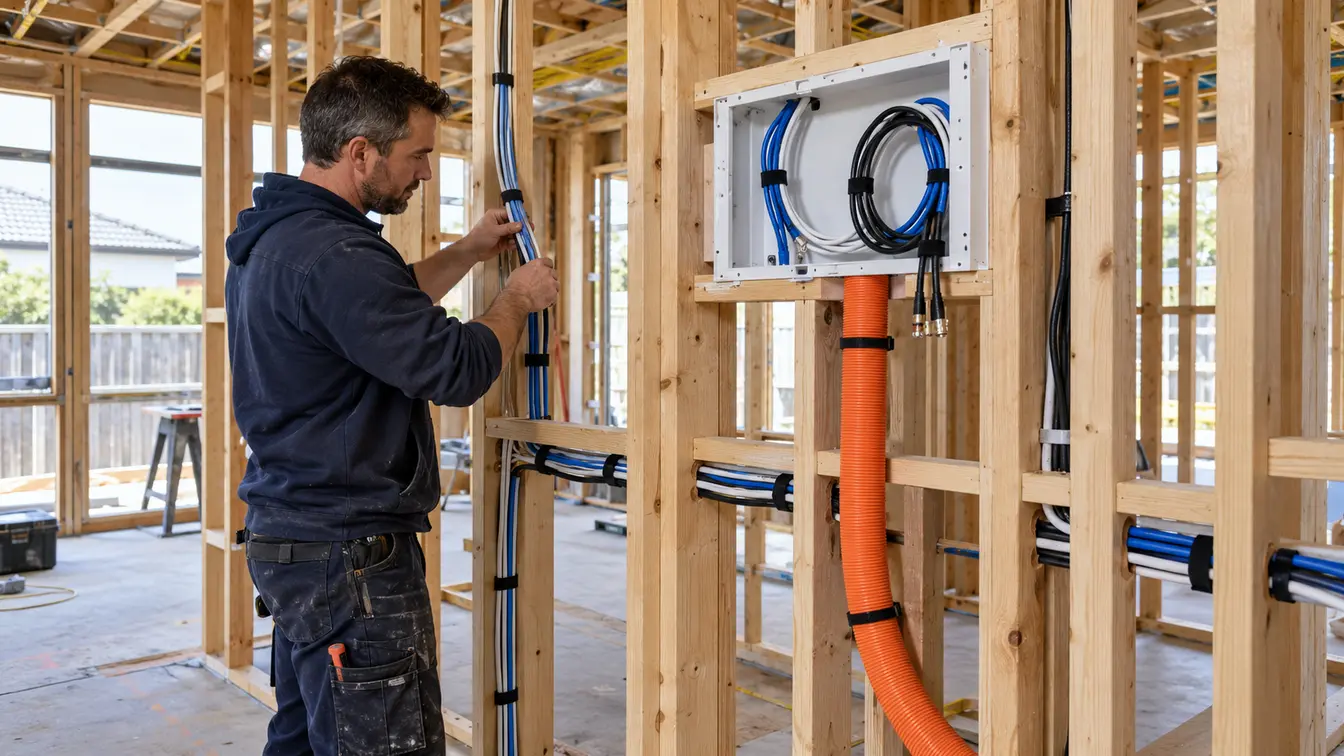
- Get every cable run agreed before anything is closed up, and leave spare capacity.
- Buy the equipment last. It is the only decision on this list you can change cheaply, and our cost guide covers what the whole thing comes to.
- Commission it properly at the end. Half the faults we find were there on day one.
The order matters more than the list
A home theatre is a chain of decisions where each link narrows the next. That is why a checklist written as a shopping list leads people wrong: it implies the items are independent, and they are not.
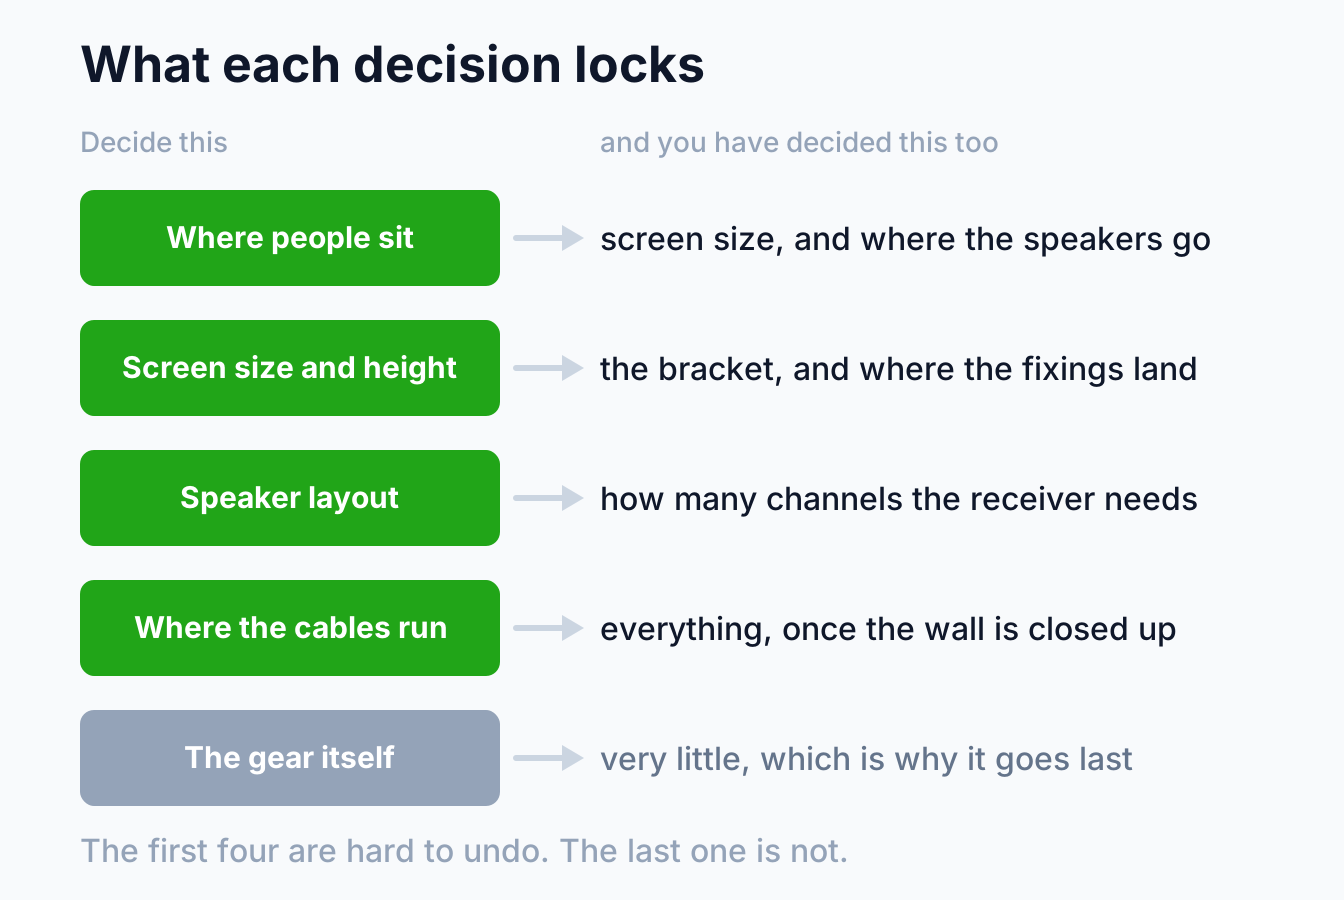
Read that from the top and the sequence becomes obvious. Read it from the bottom, which is how most people shop, and you end up fitting the room to the equipment.
Before you buy anything, measure four things
None of this needs a technician and all of it changes what you should buy.
Where people actually sit. Not where the furniture could go, where it does go. Mark the centre of the main seating position on the floor, because it is the reference point for the screen height, the front speakers and the subwoofer.
The distance from that seat to the screen wall. This is what decides screen size, far more than the size of the room does, and our guide to viewing distance turns the measurement into a size.
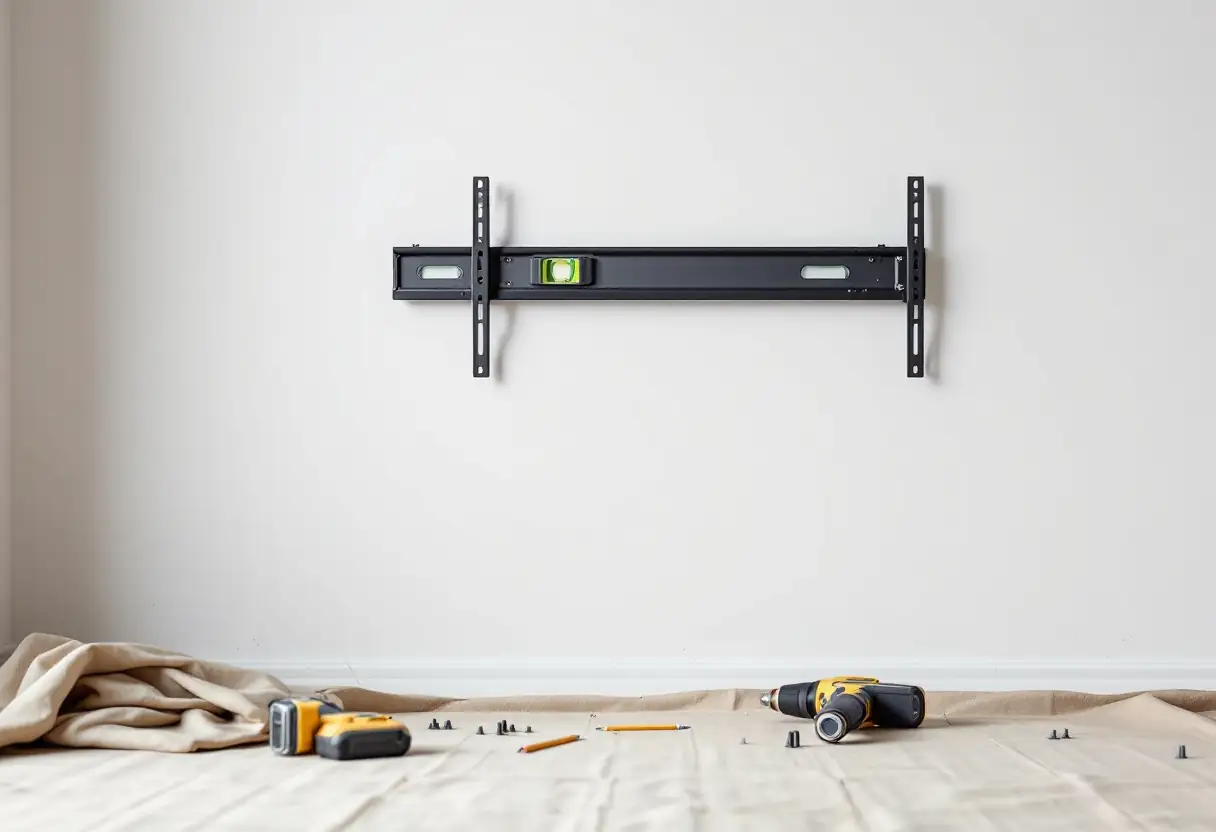
What the wall is made of. Timber stud, steel stud, brick veneer, double brick or plaster on lath all take different fixings and allow different cable routes. Knock on it, then confirm with a stud finder and a pilot hole, as we set out in mounting a TV on a plasterboard wall.
What is already in the room. Power outlets and where they are, the antenna point, any data outlet, and where the switchboard is if a new circuit is likely. Photograph the wall before anything is covered.
The sequence
1. Fix the seating position. Everything downstream is measured from the main seat. If the couch is going to move, move it now.
2. Set the screen height and size. The centre of the screen wants to be at eye level when you are seated, which is almost always lower than it looks when you are standing in an empty room. Our guide to what height a TV should be mounted at gives you the method rather than a number.
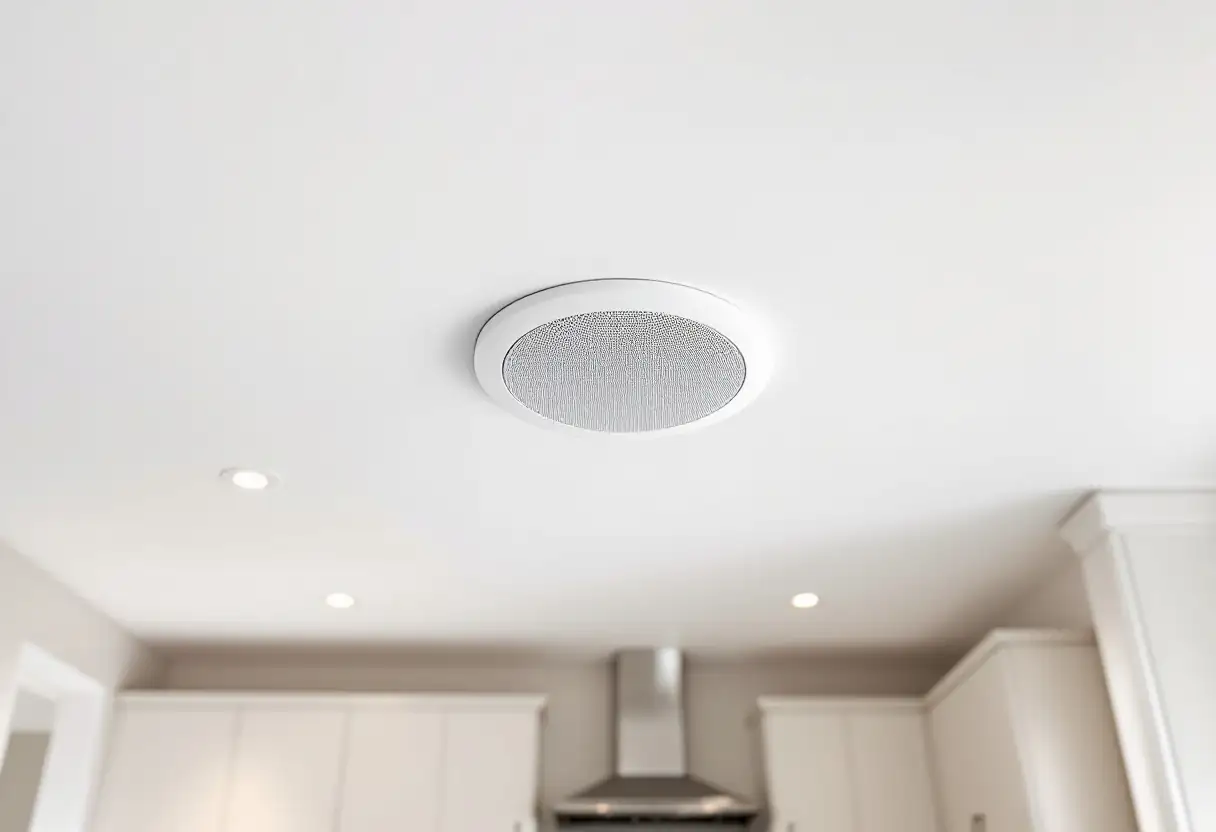
3. Choose the speaker layout. Where each speaker can physically go, given the doors, windows and walkways, decides what system is realistic. A layout you cannot fit is not a layout. Speaker placement covers where they belong and why, and if you are still weighing a bar against separates, that comparison belongs at this step rather than later.
4. Now pick the receiver. The layout tells you the channel count, and the number of sources tells you how many inputs you need. Deciding it in this order stops the common outcome of a receiver with two channels nobody can use and one input too few. If you are going overhead, Dolby publishes its Atmos speaker layouts, and it is worth checking your ceiling can take one before committing to it.
5. Map every cable run. Each speaker, each source, the screen, the antenna, the network, the power. Draw it, count it, then add spare. This is the step that cannot be revisited.
6. Do the wall work. Brackets into structure, openings cut, conduit in, cable pulled, power outlet fitted by an electrician. Test every cable before the plaster goes back.
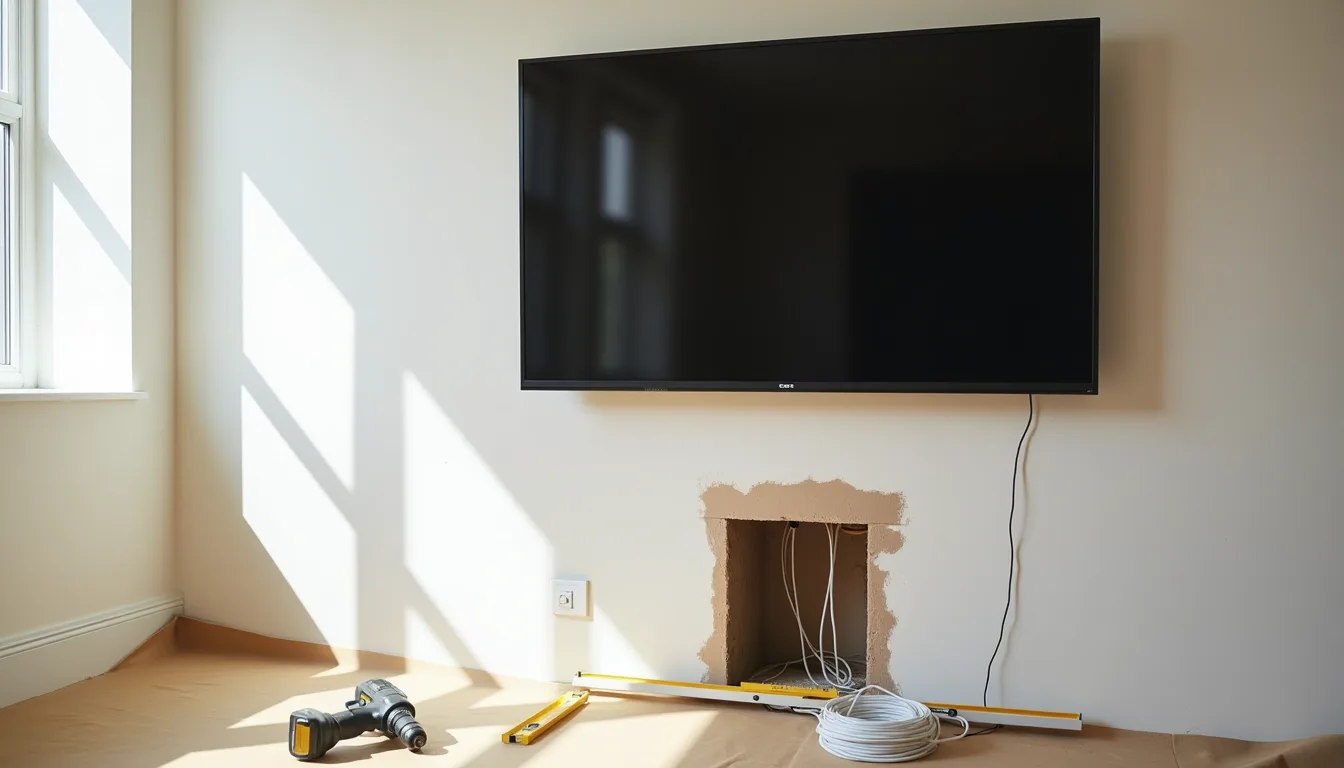
7. Mount, connect and dress. Screen on the bracket, equipment in place, cables run and tidied. If a soundbar is going back to the television, which connection you use is decided here. Concealing the cables is decided at step five and executed here, not invented at the end.
8. Set it up and check it. Run the receiver's room correction, set the picture mode, then work through the commissioning list below. Calibration is what turns a connected system into a working one.
If it is a projector rather than a television
If you are building a dedicated room rather than fitting out an existing one, start with our guide to planning a home cinema room instead, because the building decisions come first.
The sequence is the same, but two steps swap places. With a television the screen size follows the seating distance. With a projector, the screen size and the throw distance together decide where the projector has to hang, and that position has to be settled before any ceiling work happens. Get it wrong and you are patching a ceiling rather than a wall, which is the more expensive of the two.
The other change is light. A television can fight a certain amount of ambient light and a projector mostly cannot, so window coverings stop being a decorating decision and become part of the system. That is worth deciding at step one alongside the seating, not discovered on the first evening. We go through throw distances, screen types and mounting on our projectors and screens page.
Cabling is the part you cannot redo
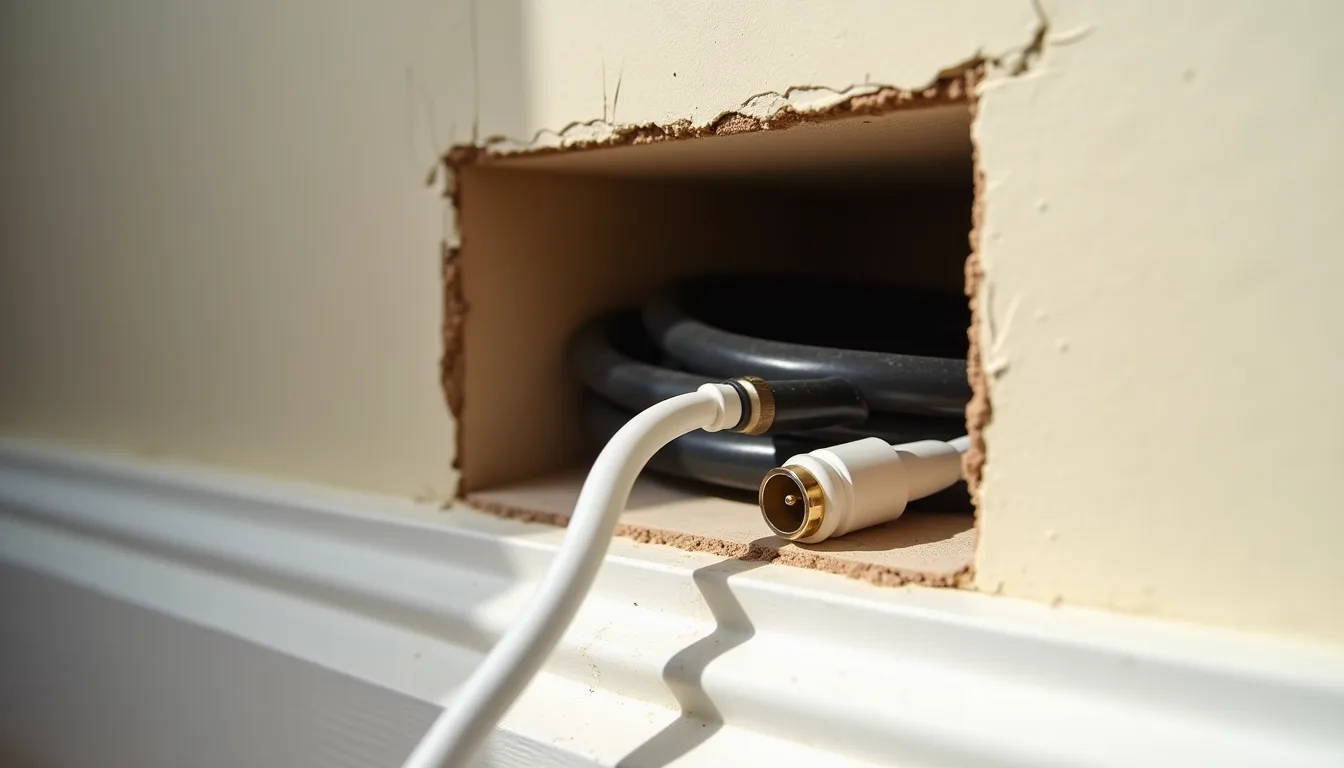
Every other decision on this page can be revisited for money. Cable in a closed wall can only be revisited with a saw, so it is worth a little more thought than it usually gets. If the house itself is still being built, the wider question of what to run where is in pre-wiring a new build.
Run conduit, not bare cable. Conduit with a draw string means the next cable costs an hour instead of a wall repair. Standards change, connectors change, and the run you install today will outlive at least one generation of equipment.
Use certified HDMI, and buy the length you need. HDMI cable is where cheap goes wrong quietly, because a marginal cable does not look soft, it drops out or refuses a resolution. For anything current, the Ultra High Speed HDMI Cable is the certified type, tested to carry up to 48Gbps and the formats that go with it. Certified cables carry a label you can verify, which matters most for the one going inside the wall.
Keep power and signal apart. Running them together in the same cavity invites interference, and in the case of the power lead it is not yours to run at all.
Know which parts are not yours to do. A new outlet behind the screen is electrical work, and Energy Safe Victoria is direct that this is not a job for a homeowner. Fixed communications cabling has its own rule: the ACMA requires that "To work as a cabler in Australia, you must be registered." Speaker cable you can run yourself. The other two you cannot.
The commissioning checklist
This is the part almost everybody skips, and it is where the faults we get called back for were already sitting on the first day. Work through it before you call the job finished.
| Check | What good looks like | If it fails |
|---|---|---|
| Every input, on the source you will really use | The television reports the resolution and format you expect on each one | The cable or that particular input is the limit, not the equipment |
| Each speaker on its own | Sound comes from the speaker you selected, and only that one | Something is wired to the wrong channel or a terminal is loose |
| Dialogue at normal volume | Speech is clear without pushing the volume up | Centre channel level or position, and occasionally the room |
| Lip sync on a live broadcast | Mouths and sound agree | Audio delay is set wrong somewhere in the chain |
| Somebody else operating it | Another person in the house turns it on and watches something | It will not get used, whatever it cost |
| Labels and spare capacity | Cables identifiable, and a draw string left in the conduit | The next change means opening the wall again |
The fifth row is not a joke. A system only one person can operate is a system that gets used on weekends, and we have been called back to plenty of expensive rooms whose real fault was that nobody else could turn them on. Getting the control right is its own job, which we go through in smart home and home theatre integration.
What people do instead, and what it costs
Buying the television first. The most common one, and understandable, because it is the fun part. The screen then sets the seating distance rather than the other way round, and either the couch ends up too close or the room ends up arranged around a purchase.
Mounting before the cable plan exists. The bracket goes up, the wall gets opened underneath, and then somebody realises a second HDMI is needed to the other side of the room. That second opening is the expensive one.
Choosing the receiver by price. Channels and inputs are what you actually run out of, and both are set by decisions you should already have made.
Skipping the room correction. The microphone that came in the box takes twenty minutes and does more for the sound than the next tier of speakers would.
Treating the last day as the finish. A system is finished when it has been checked, not when it has been connected.
Frequently asked questions
What should I buy first?
Nothing. Measure first. The seating position and the seat to screen distance decide the screen, the screen and layout decide the bracket and the receiver, and none of that costs anything to work out.
Do I need to run cables in the wall?
Not always. If the equipment sits directly under the screen, a short tidy run outside the wall is perfectly reasonable. In-wall matters when the gear lives somewhere else, when speakers are going to the back of the room, or when you want nothing visible at all.
How many HDMI inputs do I actually need?
Count your sources, then add two. One for the thing you have not bought yet and one for the input that eventually stops behaving. Running out of inputs is the most common reason people replace a receiver that was otherwise fine.
Can I set it up myself and have you check it?
Yes, and it is a sensible way to do it. Plenty of the work is well within a careful homeowner, and the parts that are not are usually the wall work and the final setup. We are happy to come in at either end.
How long does a full setup take?
It depends almost entirely on the cabling. A screen and a soundbar in a stud wall is a morning. Speakers to the back of a room in a double brick house, with a new outlet and a full calibration, is a day or more. The measuring is what makes the estimate honest.
The version of this checklist that actually helps is the order, not the list. Settle the seat, then the screen, then the speakers, then the cables, and buy the equipment when the room has already told you what it needs. We design and install home theatre systems across Melbourne and the Mornington Peninsula, in finished rooms and in builds where nothing is closed up yet. Have a look at our home theatre installation page, or book a free onsite quote and we will start with the seat.