A tiled or stone feature wall is two problems wearing one surface. Getting through the finish without wrecking it, and finding something behind it worth fixing to.
They are separate problems, and people worry about the wrong one. The drilling is a technique you can learn in a paragraph. What decides whether the television stays up is the thing you cannot see.
The short answer
- The tile is a finish. It carries nothing, and the fixing has to reach whatever is behind it.
- Find out what that substrate is before you buy a bracket, not after the first hole.
- Start the hole with no hammer action and a bit made for tile, then change to a masonry bit once you are through.
- Stacked stone will not let a bracket plate sit flat, and that is a design problem rather than a drilling one.
- Holes in tile are permanent. Plaster forgives, tile does not.
The tile is not the wall
This is the whole thing. Tile and stone cladding are finishes bonded to a background, and the trade thinks about them that way: the Australian standard for tile installation is largely concerned with the suitability of the backgrounds and substrates behind the tile.
Hang a television off the tile itself and you are asking adhesive to hold a lever. What holds it is whatever would have held it if the wall were bare. The tile is just something to get through first.
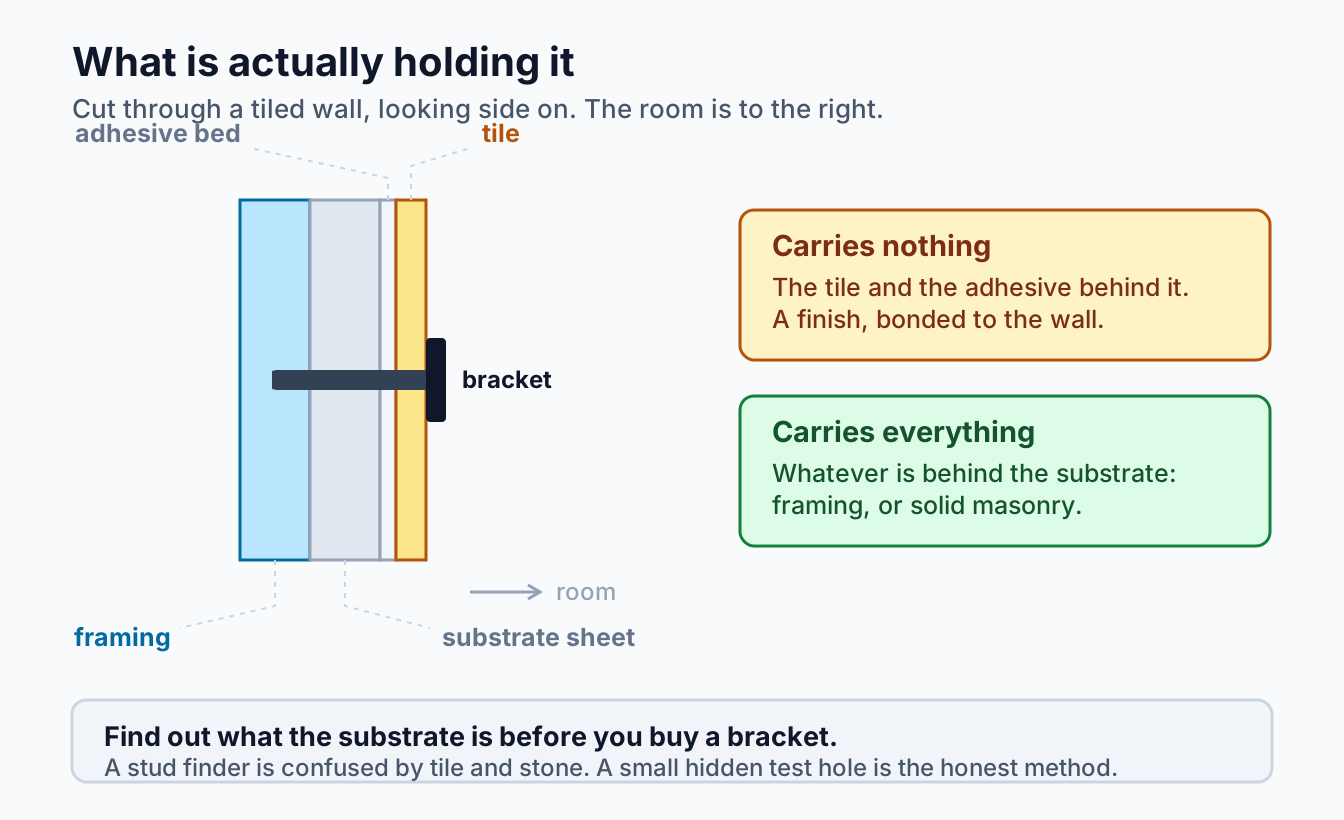
So the first job is finding out what you are actually fixing to. In Melbourne homes it is usually one of these.
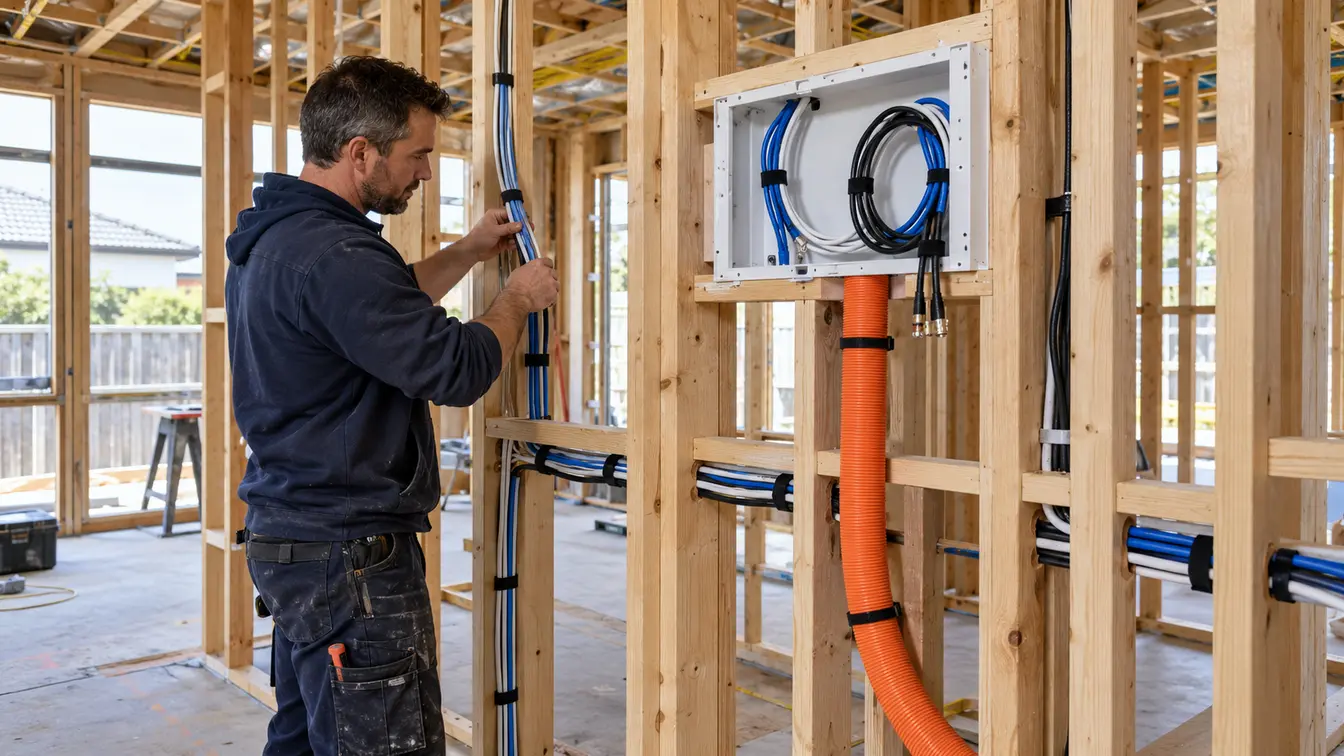
Tile over cement sheet on a frame. Common in newer builds. A stud wall with a hard skin: the fixings still have to hit the framing, as we set out in mounting on plasterboard.
Tile or stone over masonry. Brick, block or concrete behind the finish. The best case, and it takes masonry anchors sized for the material, which we cover in brick, concrete and rendered walls.
Stone cladding over battens. Very common on feature walls, and there may be an air gap behind it, which is exactly where an anchor feels tight and holds nothing.
Tile over plasterboard. It happens, particularly in older renovations. The plasterboard is doing no more than it ever did, so the answer is the framing or a backing plate.
A stud finder is confused by tile and stone, so the honest method is a small test hole somewhere it will be hidden, and reading what comes out of it.
Getting through without cracking it
Tile cracks for three reasons: the bit wanders before it bites, hammer action shatters the glaze, or heat builds up. All three are avoidable.
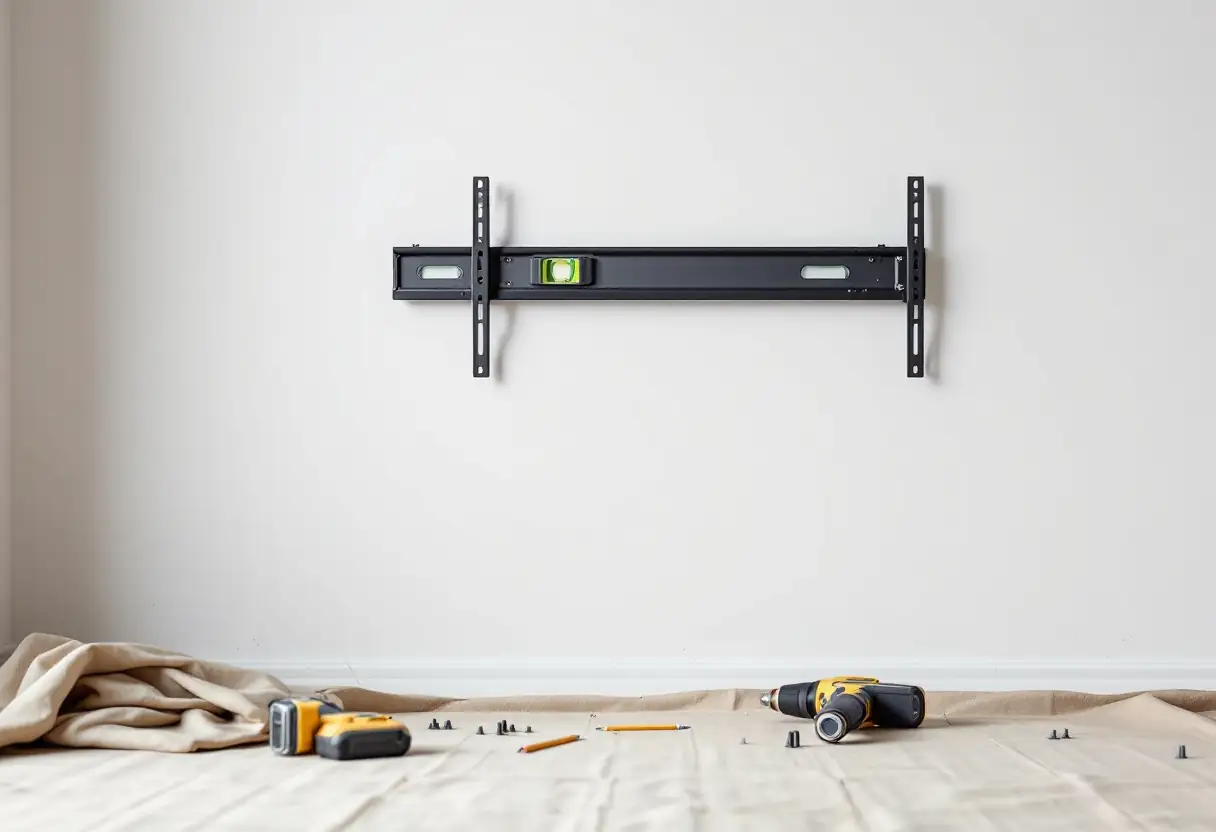
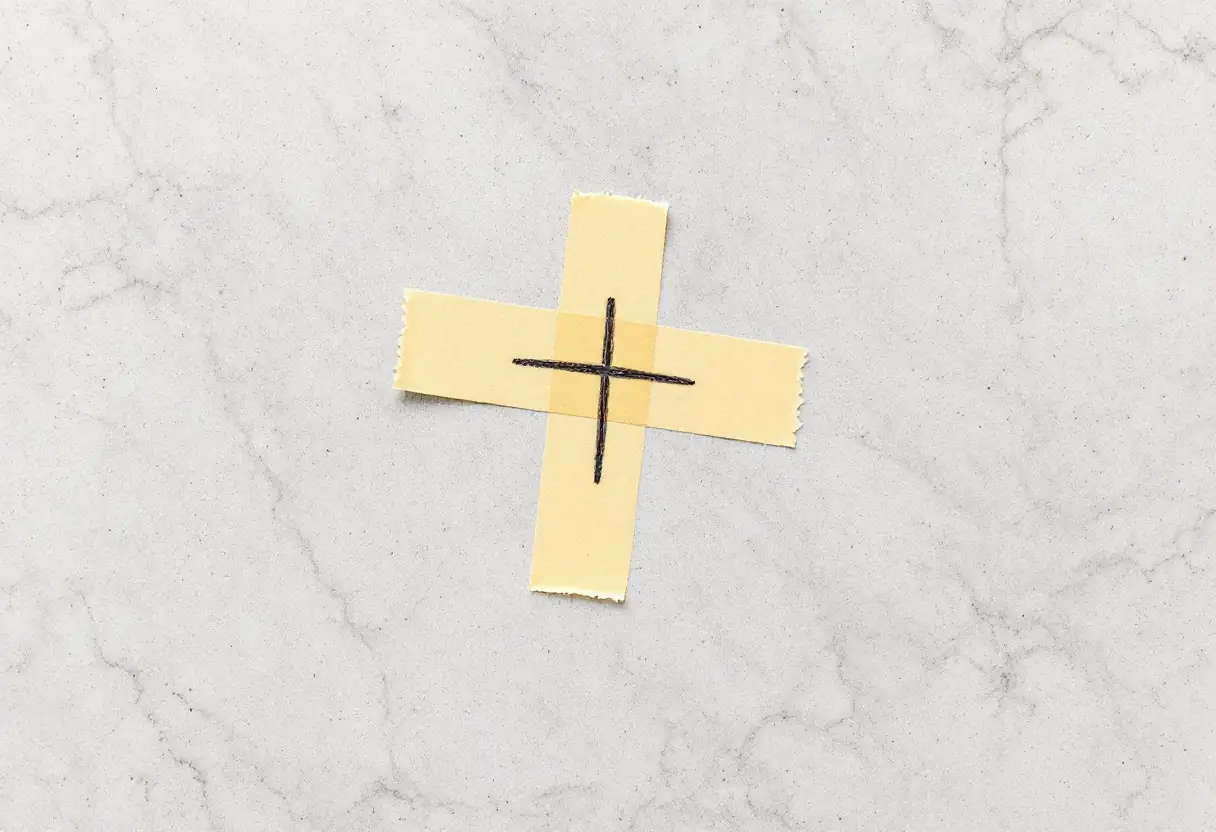
Mark it and tape it. A cross of masking tape over the spot gives the bit something to grip so it cannot skate across the glaze, and it lets you mark the position clearly.
Hammer action off. This is the one that matters most. Start the hole on rotary only. Hammer action on a glazed surface is how tiles crack, and it buys you nothing at that stage.
Use a bit made for the job. A spear-point tile bit for ceramic. For porcelain and natural stone, which are considerably harder, a diamond bit. A general masonry bit will get through soft ceramic and will fight porcelain and usually lose.
Slow, light pressure, and keep it cool. A little water on the tip, or pausing to let it cool, stops heat cracking the tile around the hole.
Change bits once you are through. Past the tile and its adhesive bed, stop, swap to the right bit for the substrate, and only then use hammer action if that substrate is masonry.
Do not overtighten. The tile is brittle and the bracket should pull up against the substrate, not crush the glaze. Firm, then stop.
Tile face or grout line?
You rarely get to choose. Grout is softer to drill and far easier to make good later, so where the geometry allows it, it is the nicer option. But the bracket holes are where they are and the framing behind is where it is, and neither cares about your grout lines. Usually they do not line up and you drill the tile, which is fine. Either way the fixing has to reach the substrate, because grout holds nothing either.
Stacked stone, which is a different job
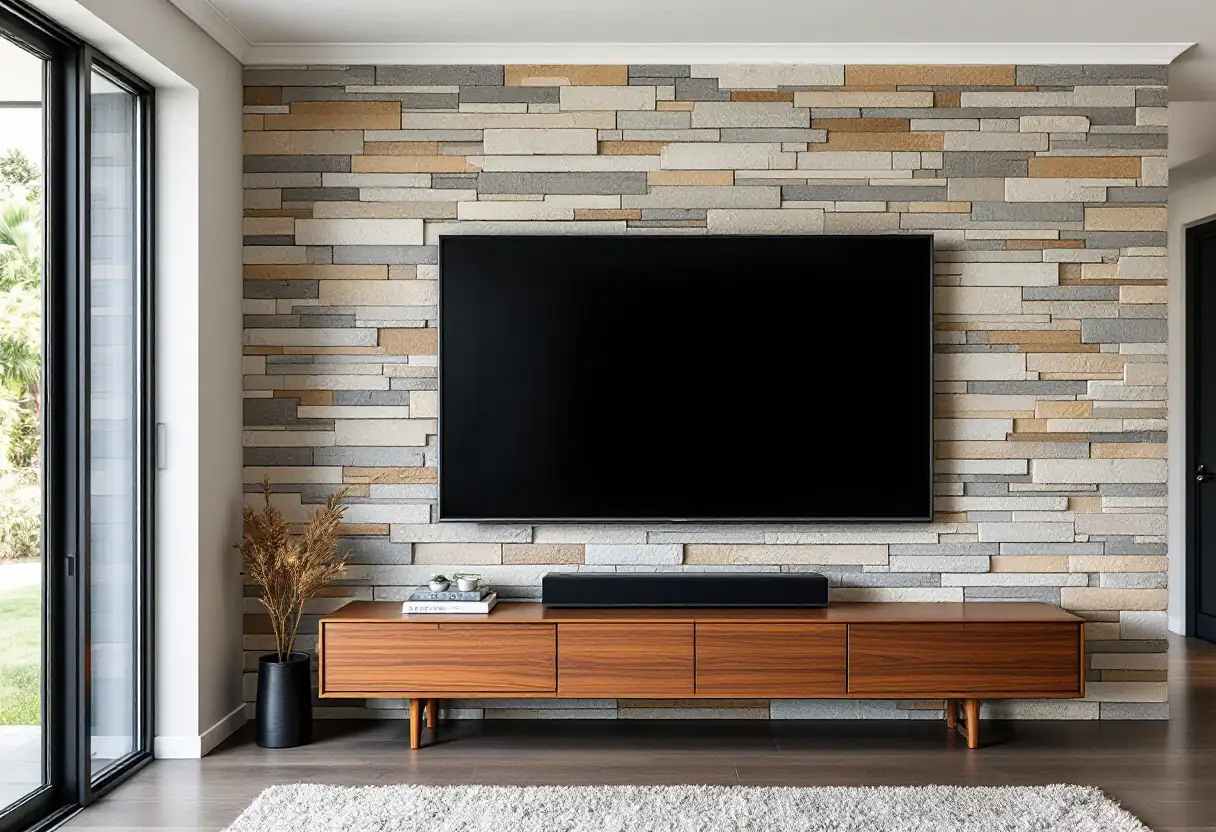
Split-face and stacked stone cladding is the finish we get asked about most, and the drilling is not the hard part.
The surface is deliberately irregular, and a bracket plate is a flat piece of steel. It cannot sit flat against a wall with 20mm of relief across it, and tightening it down anyway loads a few high points, which is how stone cracks and brackets end up crooked.
The answers are packing behind the plate so it bears evenly, standoffs that lift it off the surface entirely, or planning the position before the stone goes on. That last one is only for people renovating, and it is worth raising with the builder: a piece of structural timber behind the cladding makes the job trivial later.
The part that should slow you down
Everywhere else on this site we say that mounting a television is reversible: a few filled holes, some paint, and the wall is as it was.
Tile and stone are the exception. A hole in a tile is there for good. You cannot fill it invisibly, and replacing one tile in a finished wall means matching a batch that may no longer exist and disturbing its neighbours. Stone is worse, because no two pieces match anyway.
So this is the one wall worth sitting with for a day. Settle the height using our guide to TV mounting height and the position using viewing distance, hold a cardboard rectangle up and live with it, and find the spare tiles from the original job before anything is drilled.
If the answer comes back as not worth it, a floor-standing unit against the feature wall gives most of the look with nothing drilled. We compare the two in TV stand versus wall mount.
Cables, power and the fireplace question
Concealing a cable inside a tiled or stone wall is usually not on the table, because chasing the finish is far more disruptive than chasing plaster and cannot be made good afterwards. A slim colour-matched conduit, or a run through an adjoining cupboard, is normally the answer, and our guide to hiding cables covers the options.
If the feature wall is a fireplace surround, the heat question arrives on top of all of this, and we work through it in mounting a TV above a fireplace.
Frequently asked questions
Can you mount a TV on a tiled wall?
Yes, routinely. The tile is a surface to get through rather than the thing holding the television, so what decides it is the substrate behind the tile. Find that out before choosing a bracket.
Will drilling crack the tile?
Not if it is done properly. Tape the spot, start with hammer action off, use a tile or diamond bit at low speed, keep the tip cool, and change to a masonry bit only once you are through the tile.
Do I need a special drill bit for porcelain?
Yes. Porcelain and natural stone are much harder than glazed ceramic, and a diamond bit is the realistic choice. A standard masonry bit will struggle and is more likely to crack the tile while it does.
Should I drill into the grout instead?
If the position allows, grout is easier to drill and easier to repair. Usually the bracket holes and the framing behind decide the position, and the grout lines do not cooperate. Either way, the fixing has to reach the substrate.
Can I mount a TV on stacked stone cladding?
Usually, but the irregular surface is the real issue rather than the stone itself. The bracket plate needs packing or standoffs so it bears evenly, and the fixings still have to find whatever is behind the cladding.
What if I change my mind later?
That is the reason to be careful here. Unlike plaster, holes in tile and stone cannot be made to disappear. Spare tiles from the original job help, so it is worth locating them before anything is drilled.
A feature wall is not harder to mount on, it is less forgiving. Work out what is behind the finish, get through it slowly with the right bit and no hammer, land the fixings in structure, and think twice about the position because you get one go at it. We mount screens on tile, stone and rendered walls across Melbourne, Bayside and the Mornington Peninsula, and we would rather tell you a wall is a bad idea than put a hole in something nobody can repair. Have a look at our TV wall mounting page, or book a free onsite quote.